A Guide to Organizing Your Bathroom Cabinet
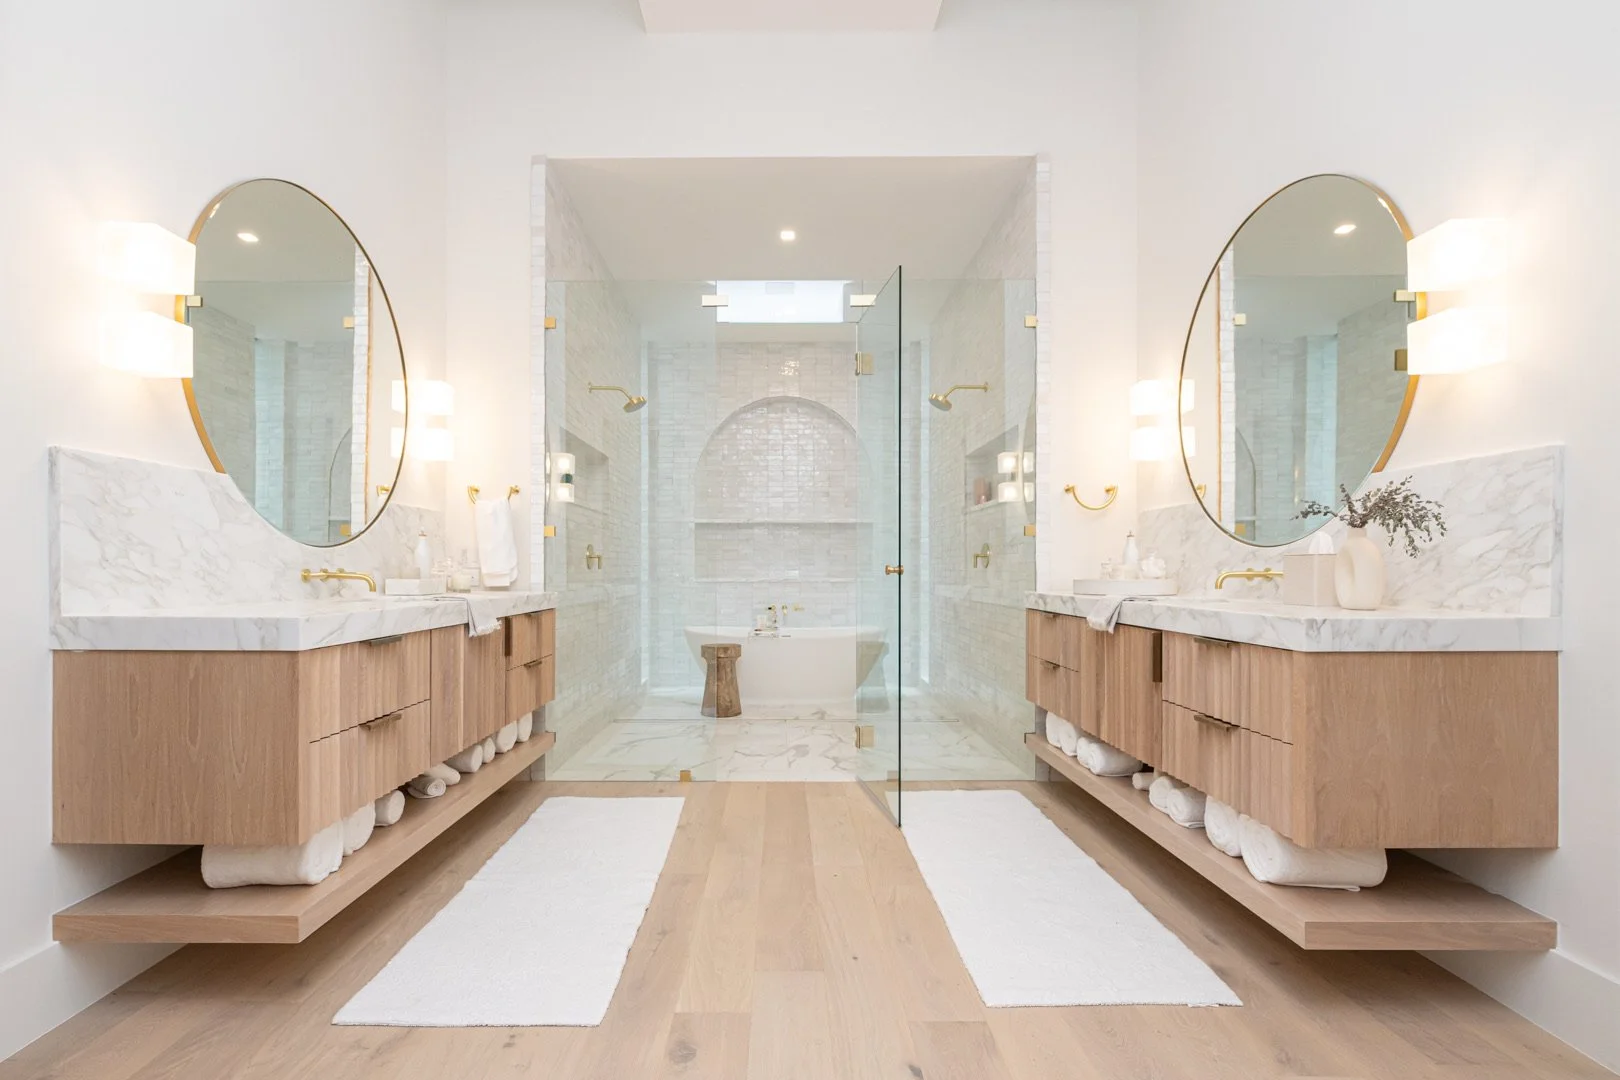
The space beneath a bathroom sink is often small, awkwardly shaped, and easy to overlook. Yet with intentional planning, it can become one of the most efficient and calming storage zones in your home.
A well-organized bathroom cabinet supports your morning and evening routines, reduces visual noise, and brings a sense of order to the start and end of each day. Here is how we transform this often neglected area into a beautifully functional space.

Before You Begin: Evaluate the Real Estate Around the Sink
Not all under-sink spaces are created equal, and what belongs there will depend entirely on the storage surrounding it.
Before measuring or purchasing products, pause to evaluate the real estate available in the bathroom as a whole. Do you have generous drawers beside the sink? Tall cabinetry nearby? A linen closet? Or is the cabinet beneath the sink your primary storage zone?
The answer determines what should live there.
Equally important is identifying who uses the space. Is this a primary bathroom supporting daily routines? A children’s bathroom that needs safe, accessible systems? A guest bath that requires minimal but beautifully presented essentials?
Understanding:
Who uses the space
How often they use it
What other storage options are available
…will guide your decisions about what belongs closest to the sink and what can live elsewhere.
When you begin with this bigger-picture awareness, every decision that follows becomes more intentional.
Graceful Spaces Tip: Daily and weekly essentials should always be the most accessible, whether that’s in a drawer beside you or directly beneath the sink. If the under-sink cabinet is your primary storage zone, it must support your highest-frequency items with ease.
1. Begin with Measurements to Ensure Every Product Fits with Purpose
Before you begin decluttering or arranging anything, pause and measure your cabinet. This is the step that determines whether your system will succeed long term. The right products only work when they truly fit your environment, so thoughtful measuring sets the entire project up for success.
Use a tape measure to record:
The width of the cabinet
The depth from front to back
The height available beneath the plumbing
The placement and shape of the P-trap
These measurements will guide your product choices and prevent trial-and-error purchases. When you begin with precise dimensions, you ensure that every piece you bring in serves your space well.
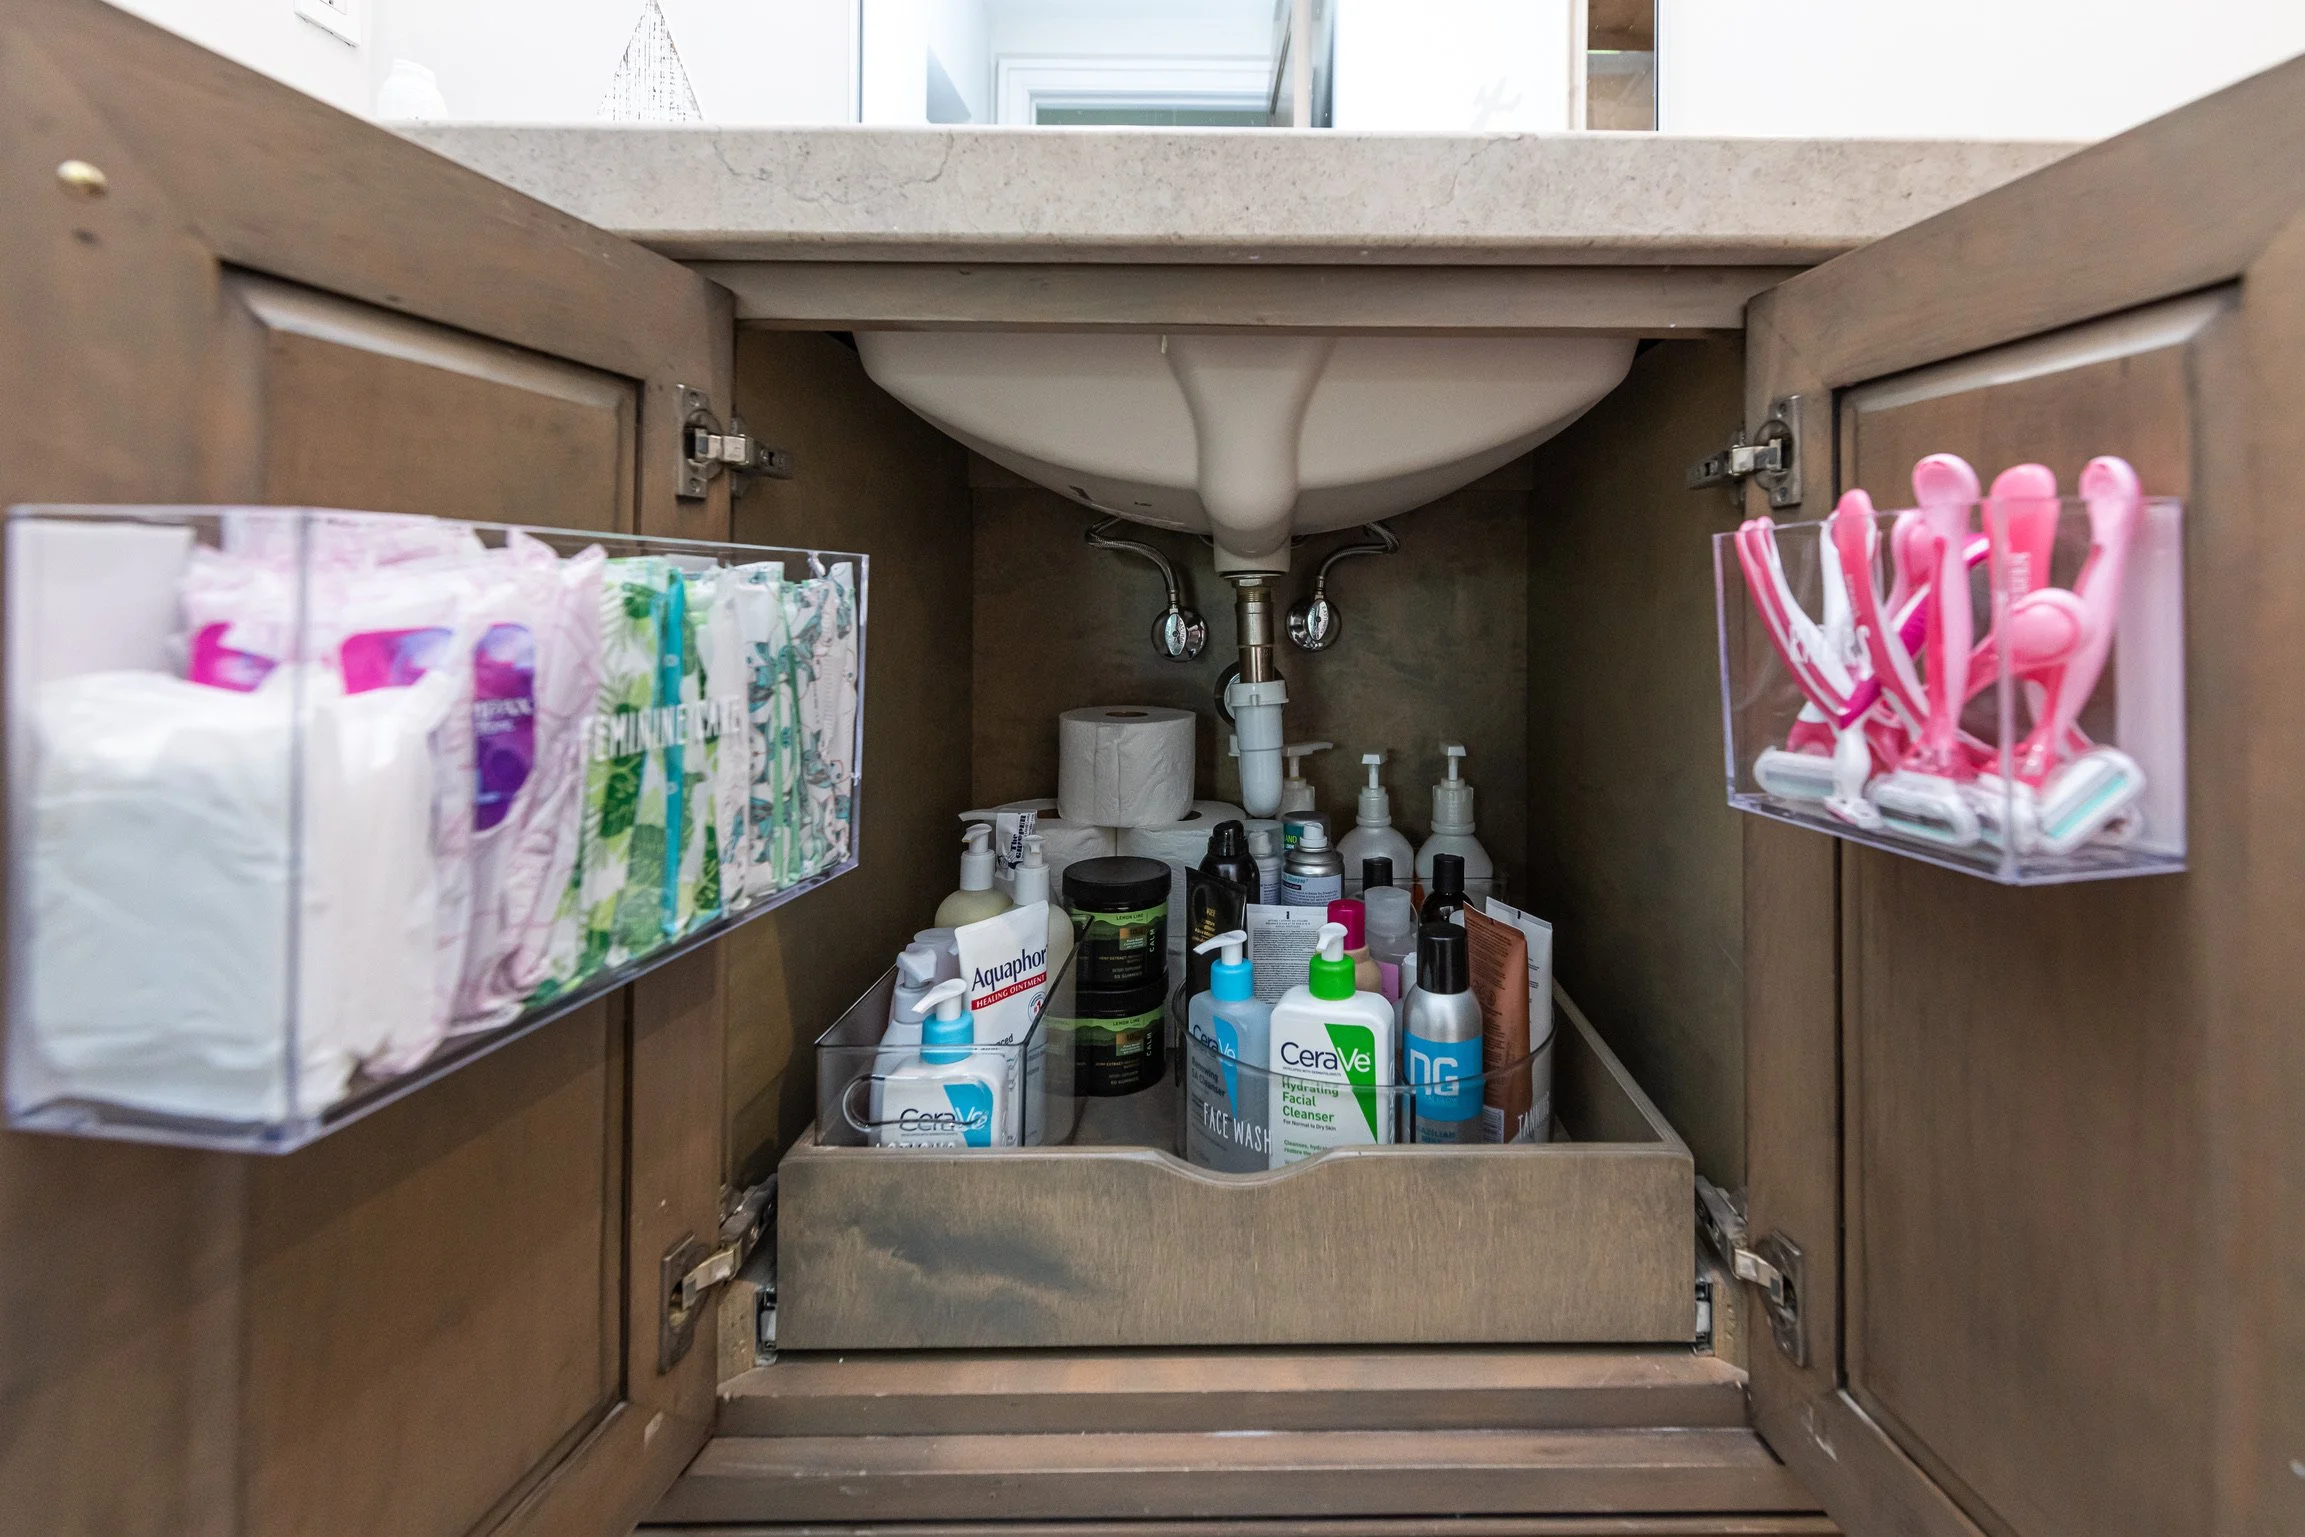
2. Select Products That Complement the Natural Layout
Once you have your measurements, choose products that accommodate your unique cabinet structure and your home’s daily rhythm. A few Graceful Spaces favorites include:
Narrow stacking drawers that keep skincare and small essentials easy to access
Expandable under-sink shelves that create levels while working around plumbing lines
Slim handled bins for hair tools, cleaning items, or everyday toiletries
Clear turntables to keep daily-use products visible and easy to reach
Over-the-cabinet baskets for storing towels, washcloths, or guest supplies
File-style clear organizers that hold hot tools neatly
Small pull-out baskets that make children’s bath items or medicines more accessible and organized
Bringing in the correct products before you begin ensures a seamless organizing experience from start to finish. Order and unbox the packages of these items to ensure you have what you need before you start to rearrange the area.
Graceful Spaces Tip: Don’t overlook the inside of your cabinet doors. Adhesive bins or slim hooks can hold lightweight essentials and help you maximize every square inch — especially if your under-sink cabinet is your primary storage zone or you’re working with a larger collection.
3. Edit Your Inventory with Clarity and Confidence
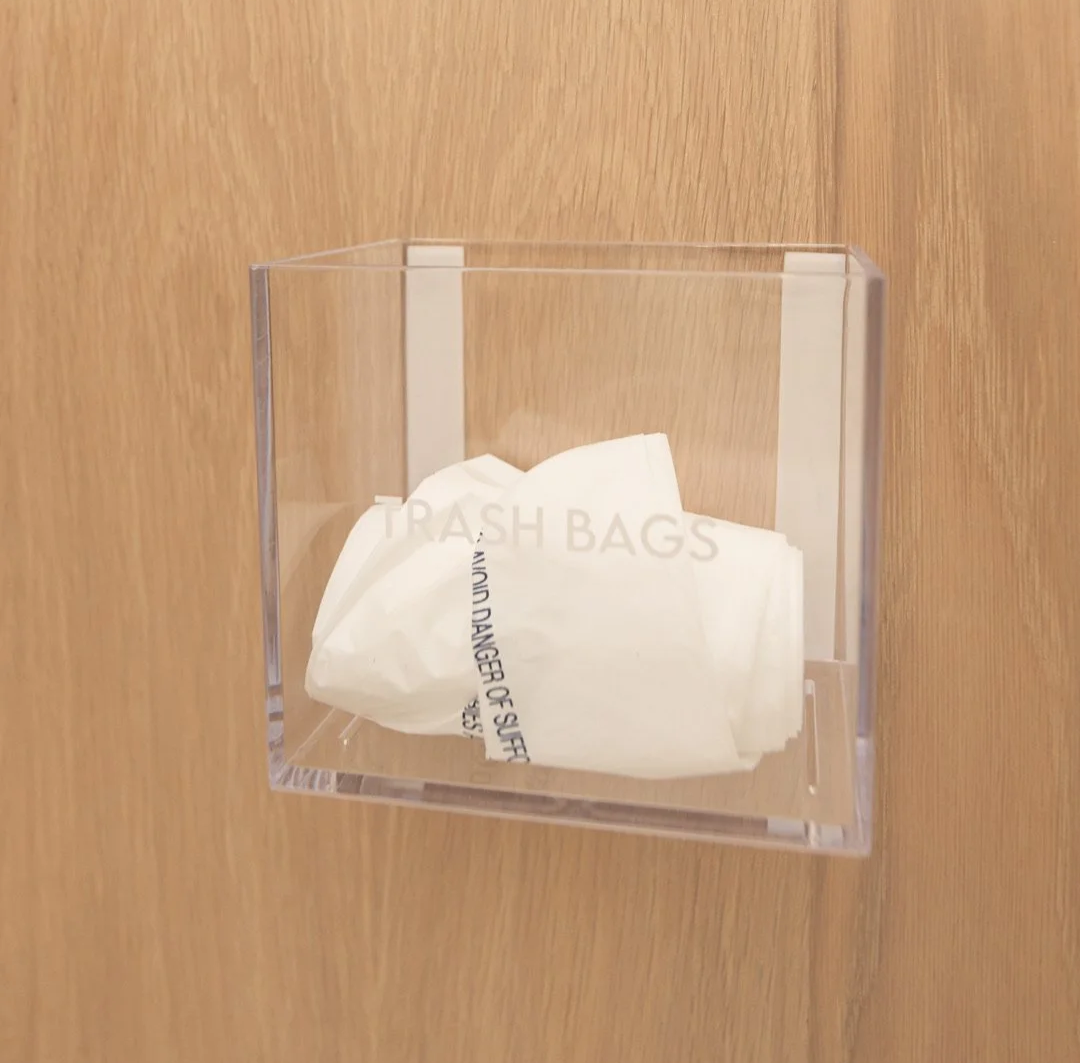
Empty the cabinet completely and make very deliberate, thoughtful decisions. Remove anything that is expired (keep a trash bag on hand!), donate items you no longer need, consolidate duplicates, and relocate anything that does not belong in the bathroom. Supportive organizing systems are created from a very refined selection of the items you need most.
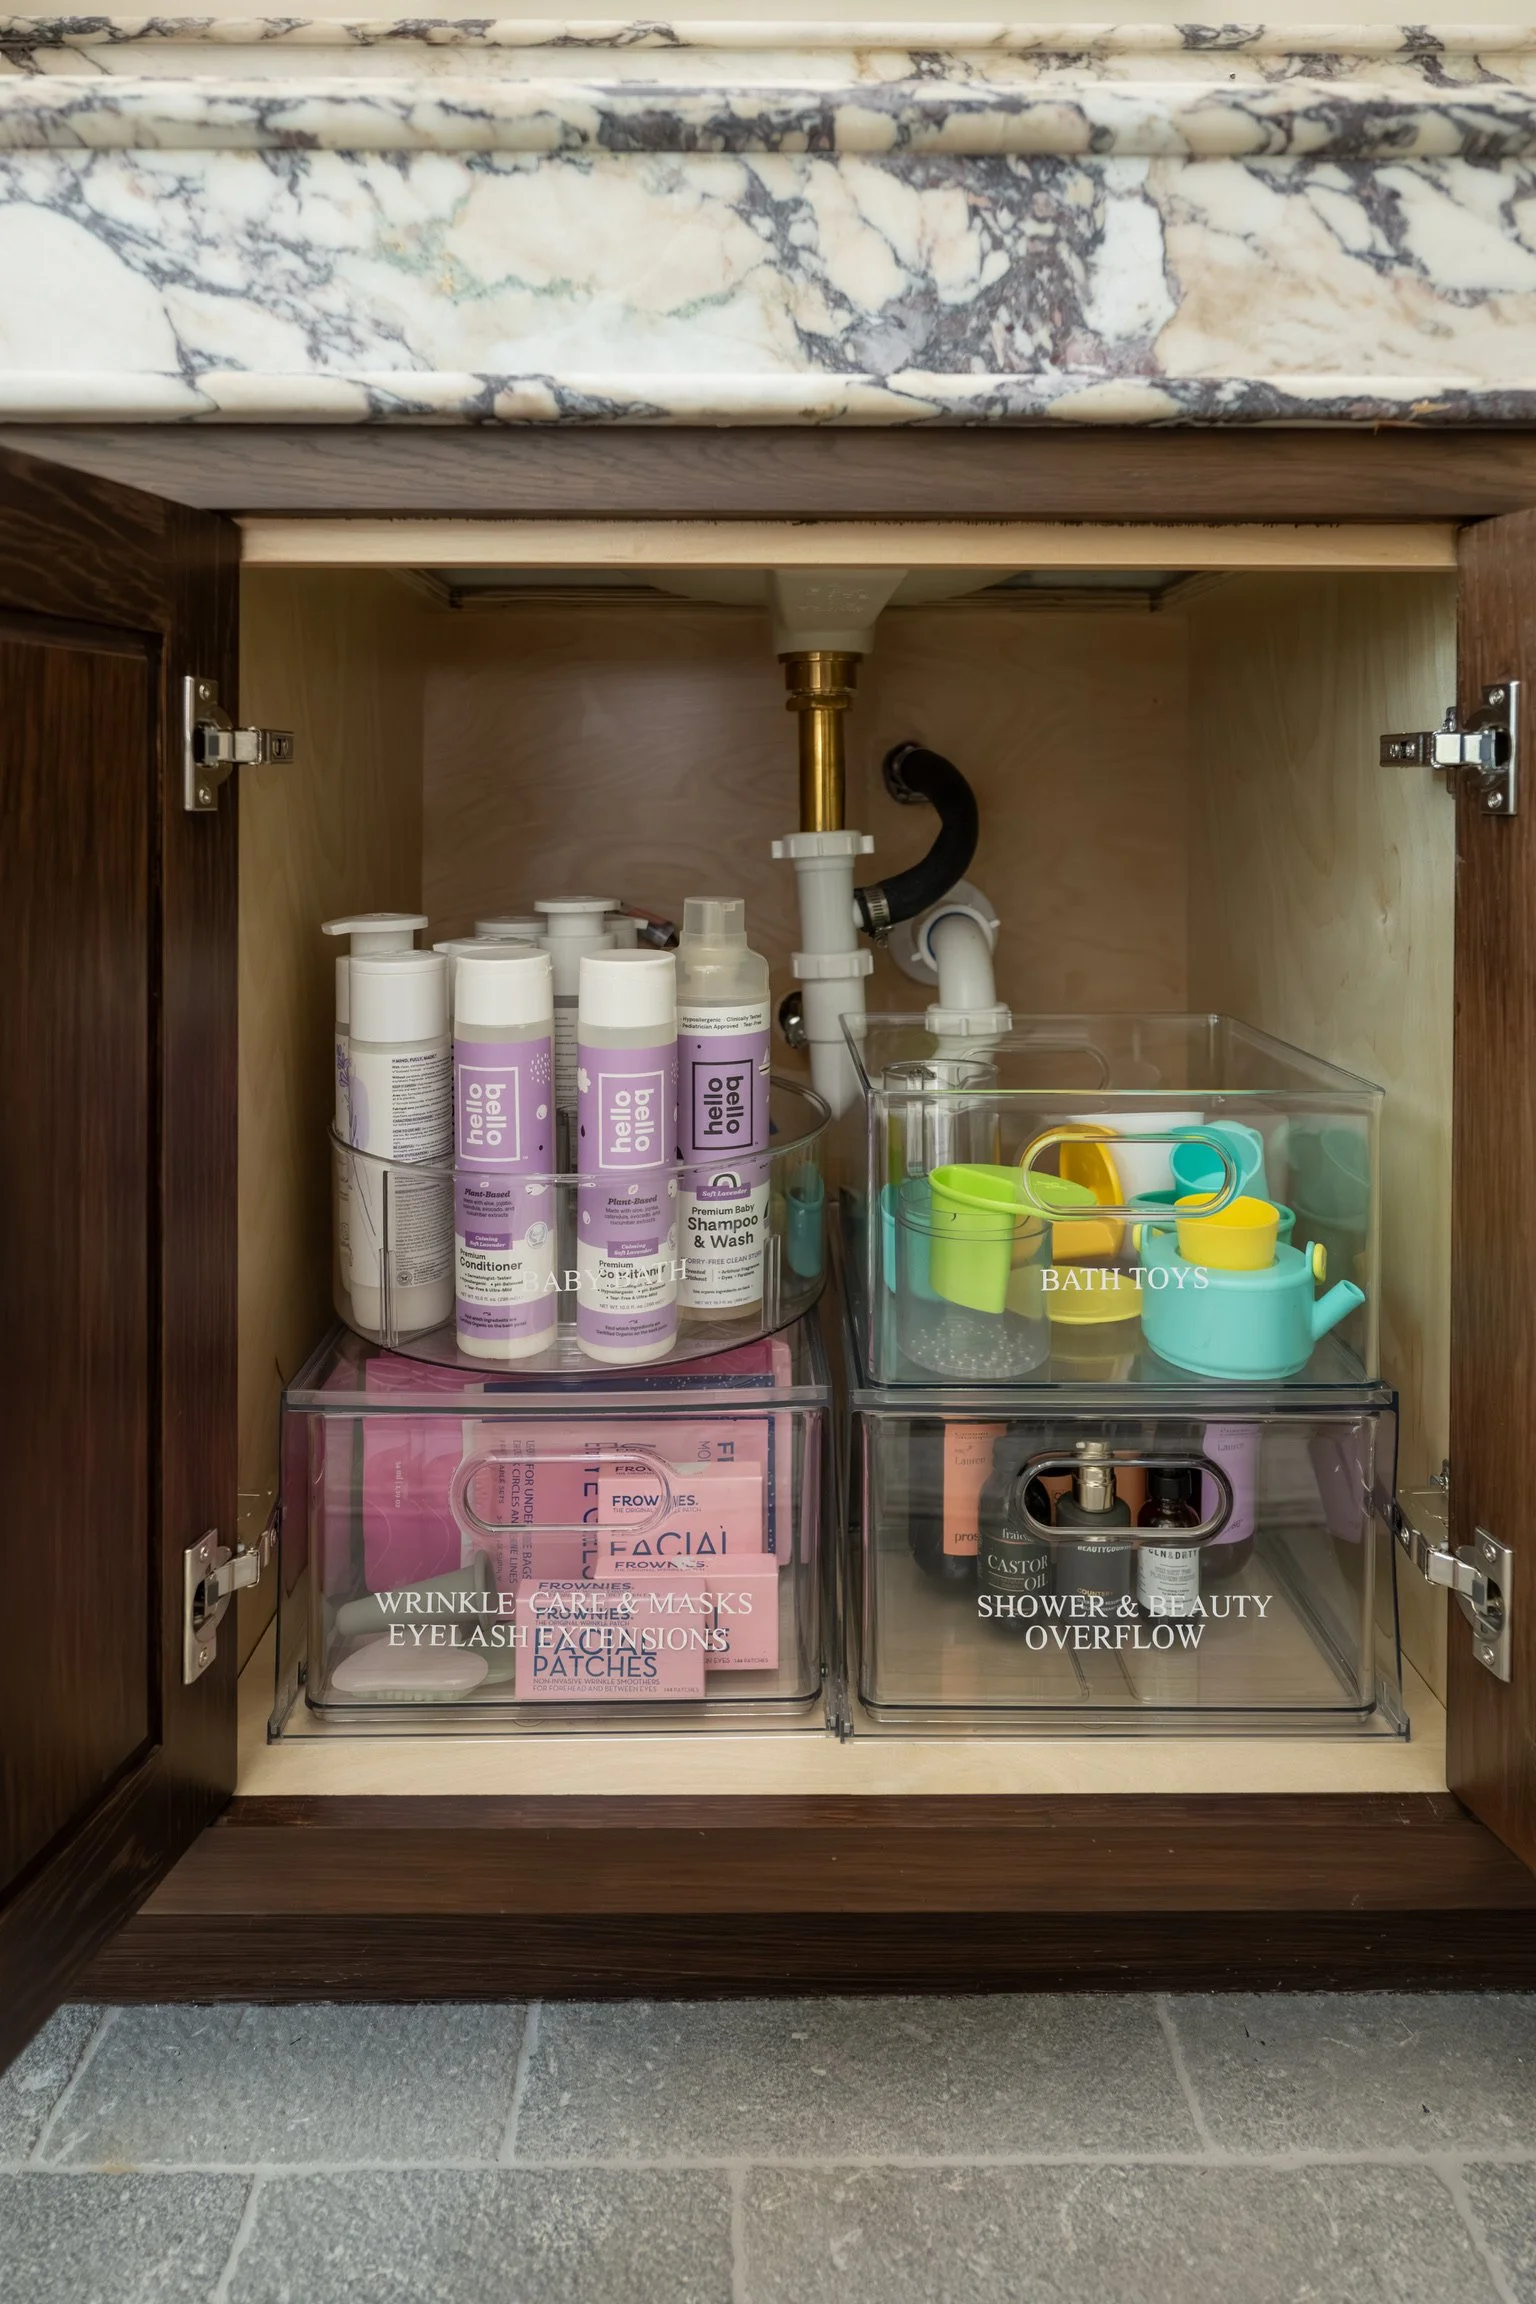
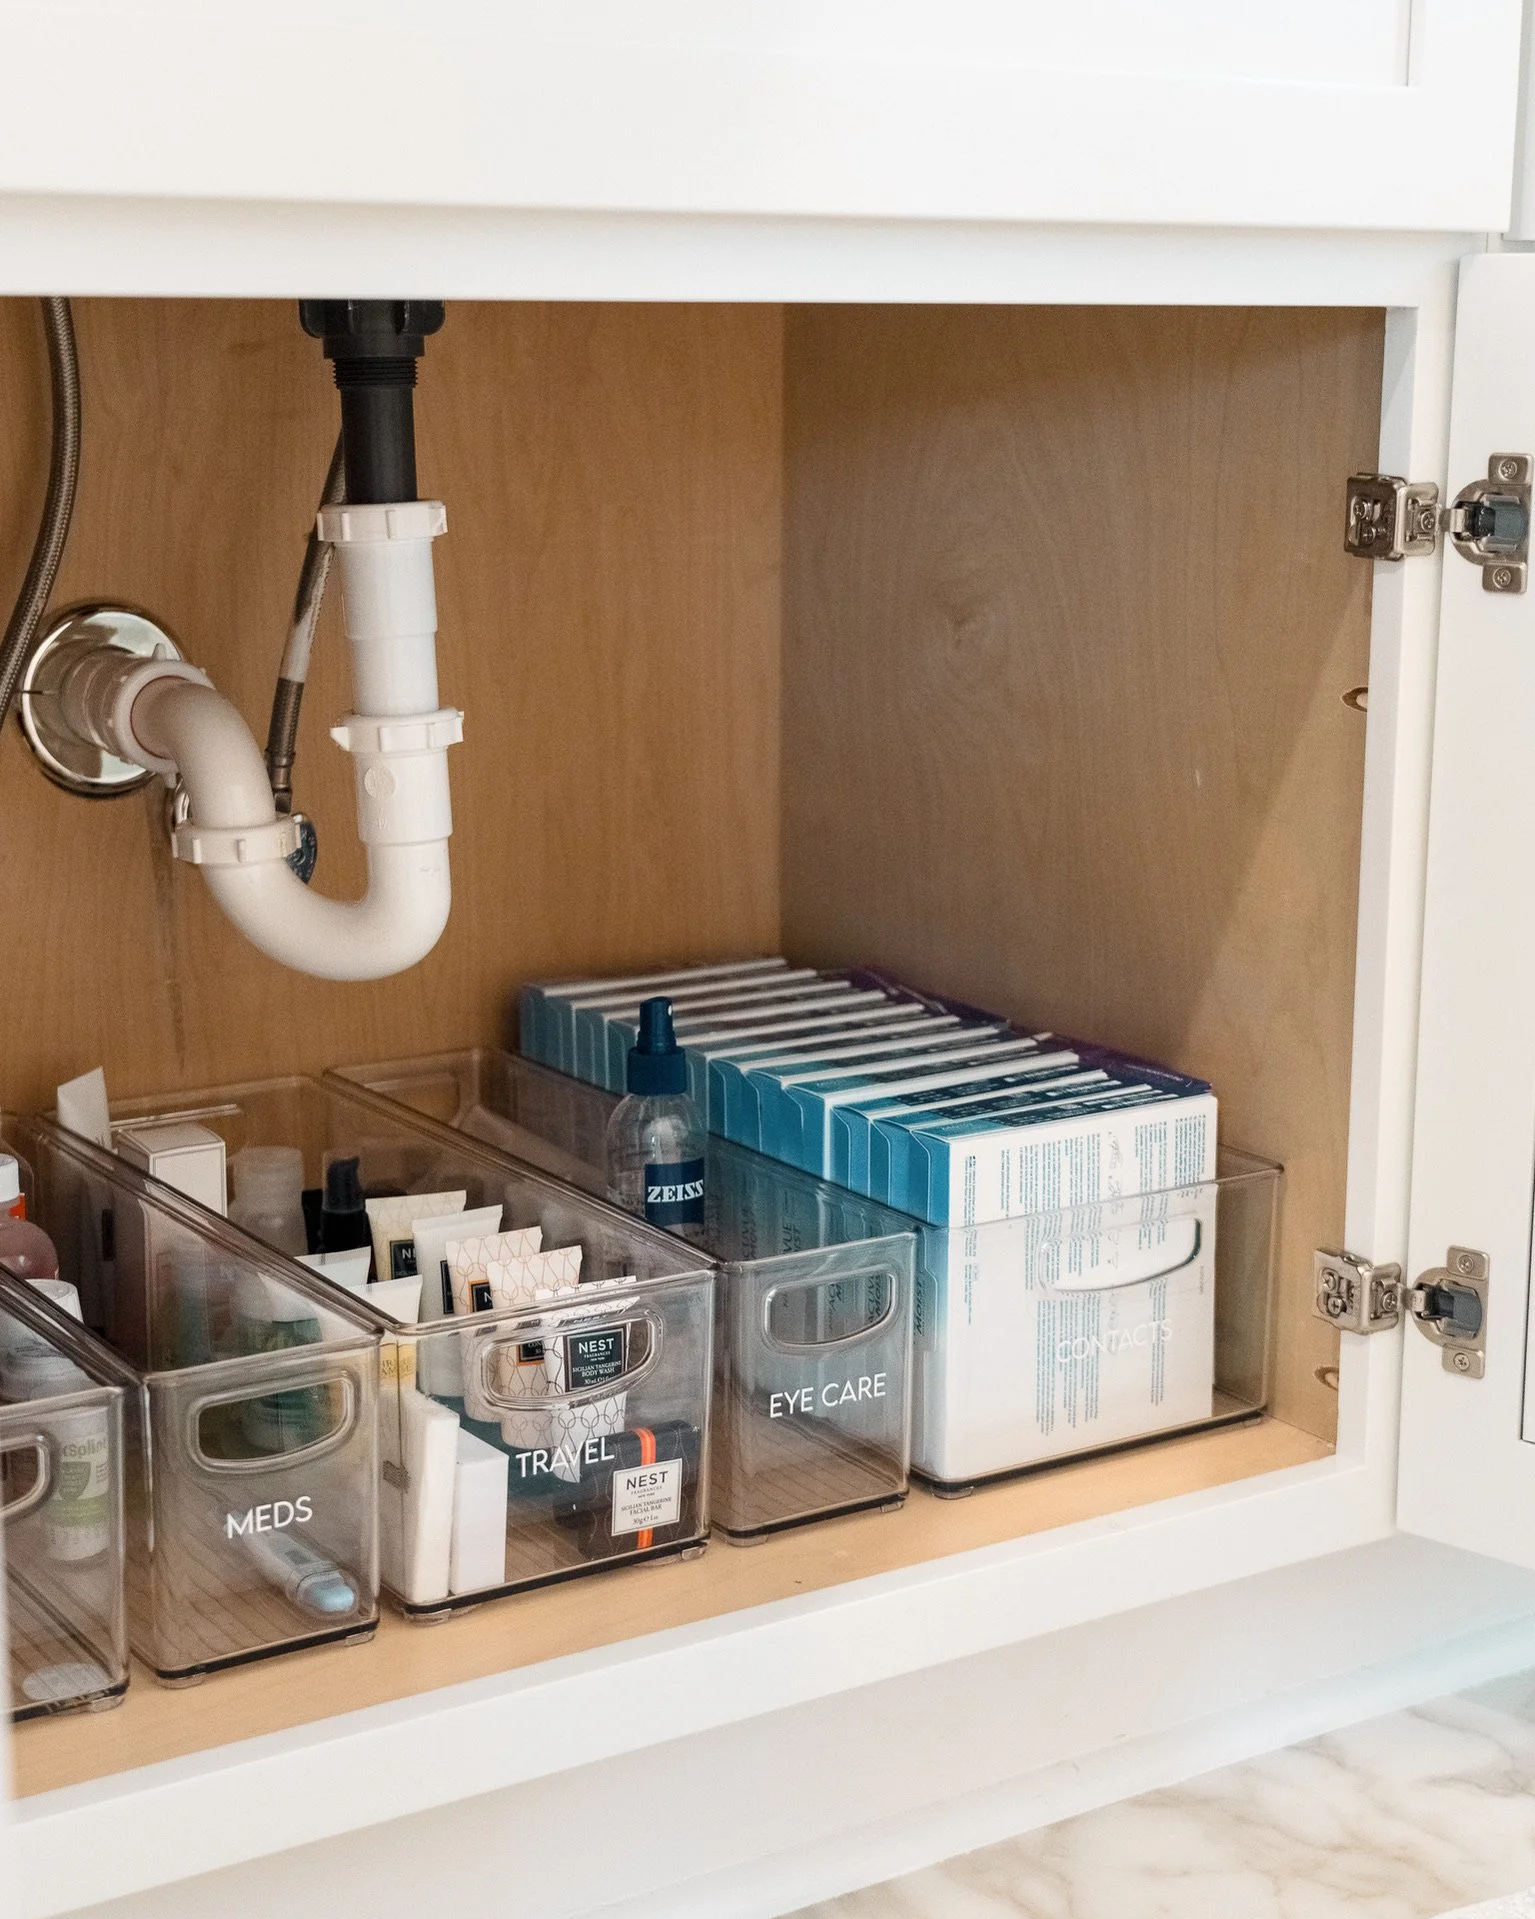
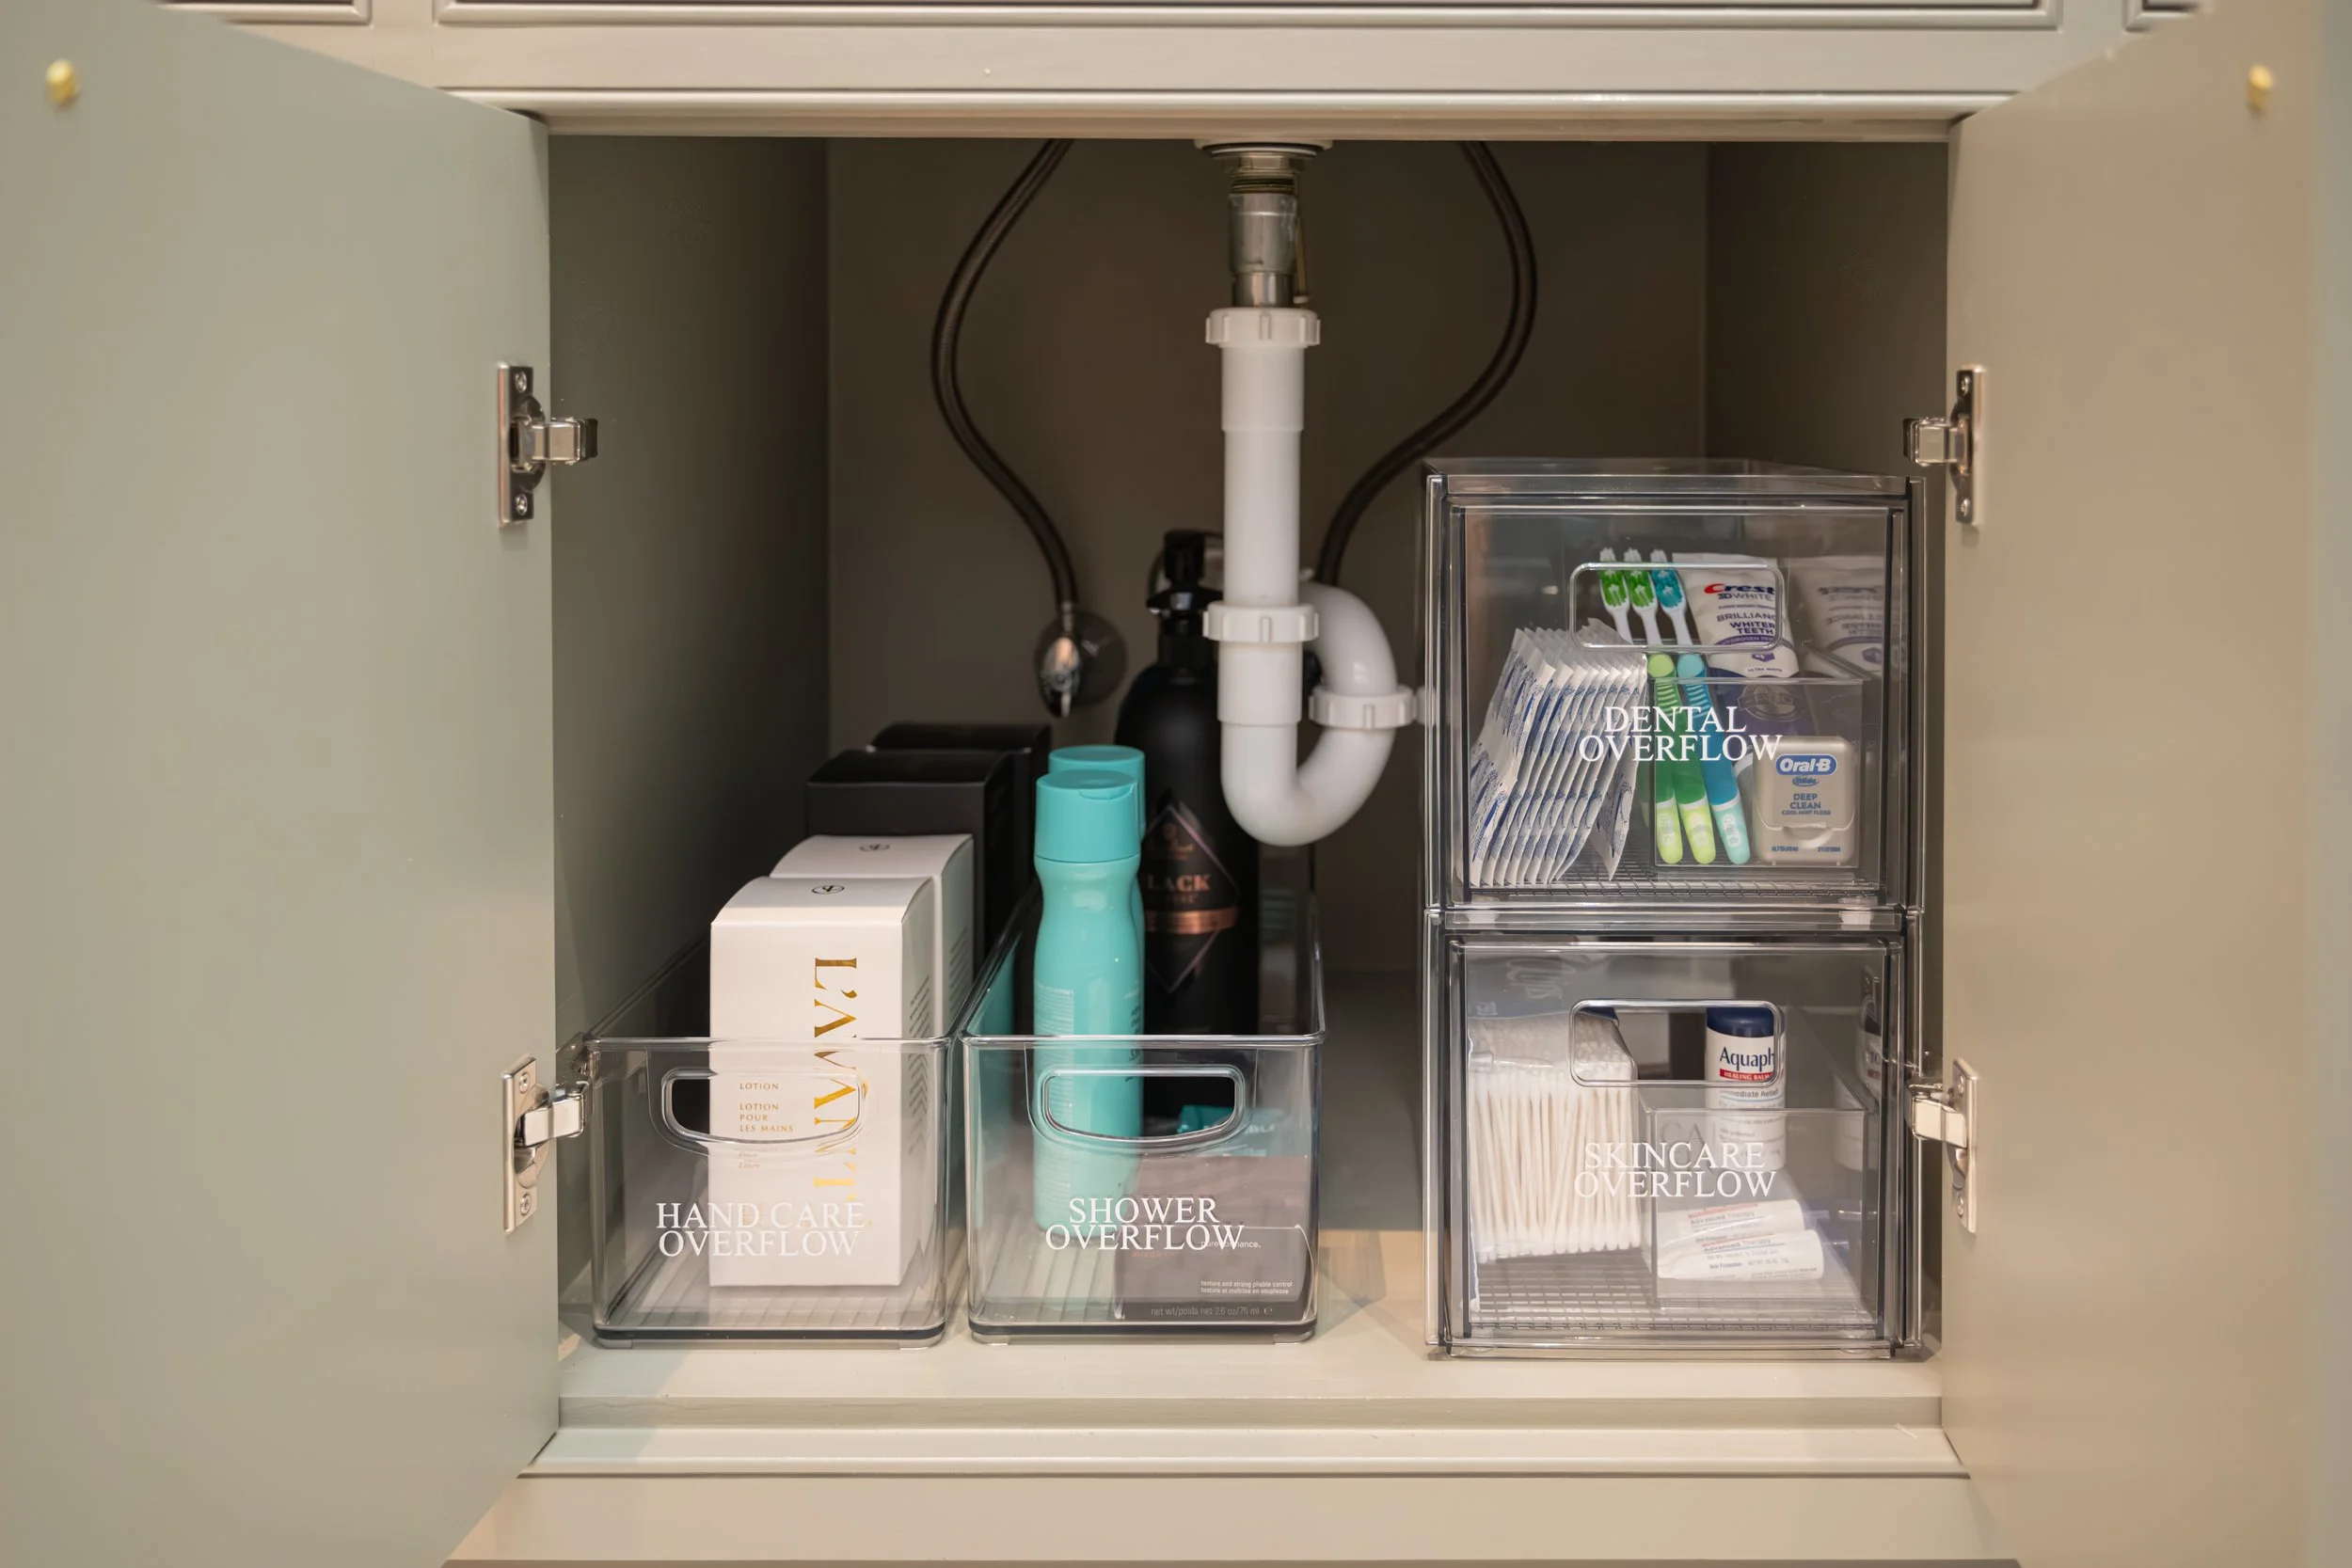
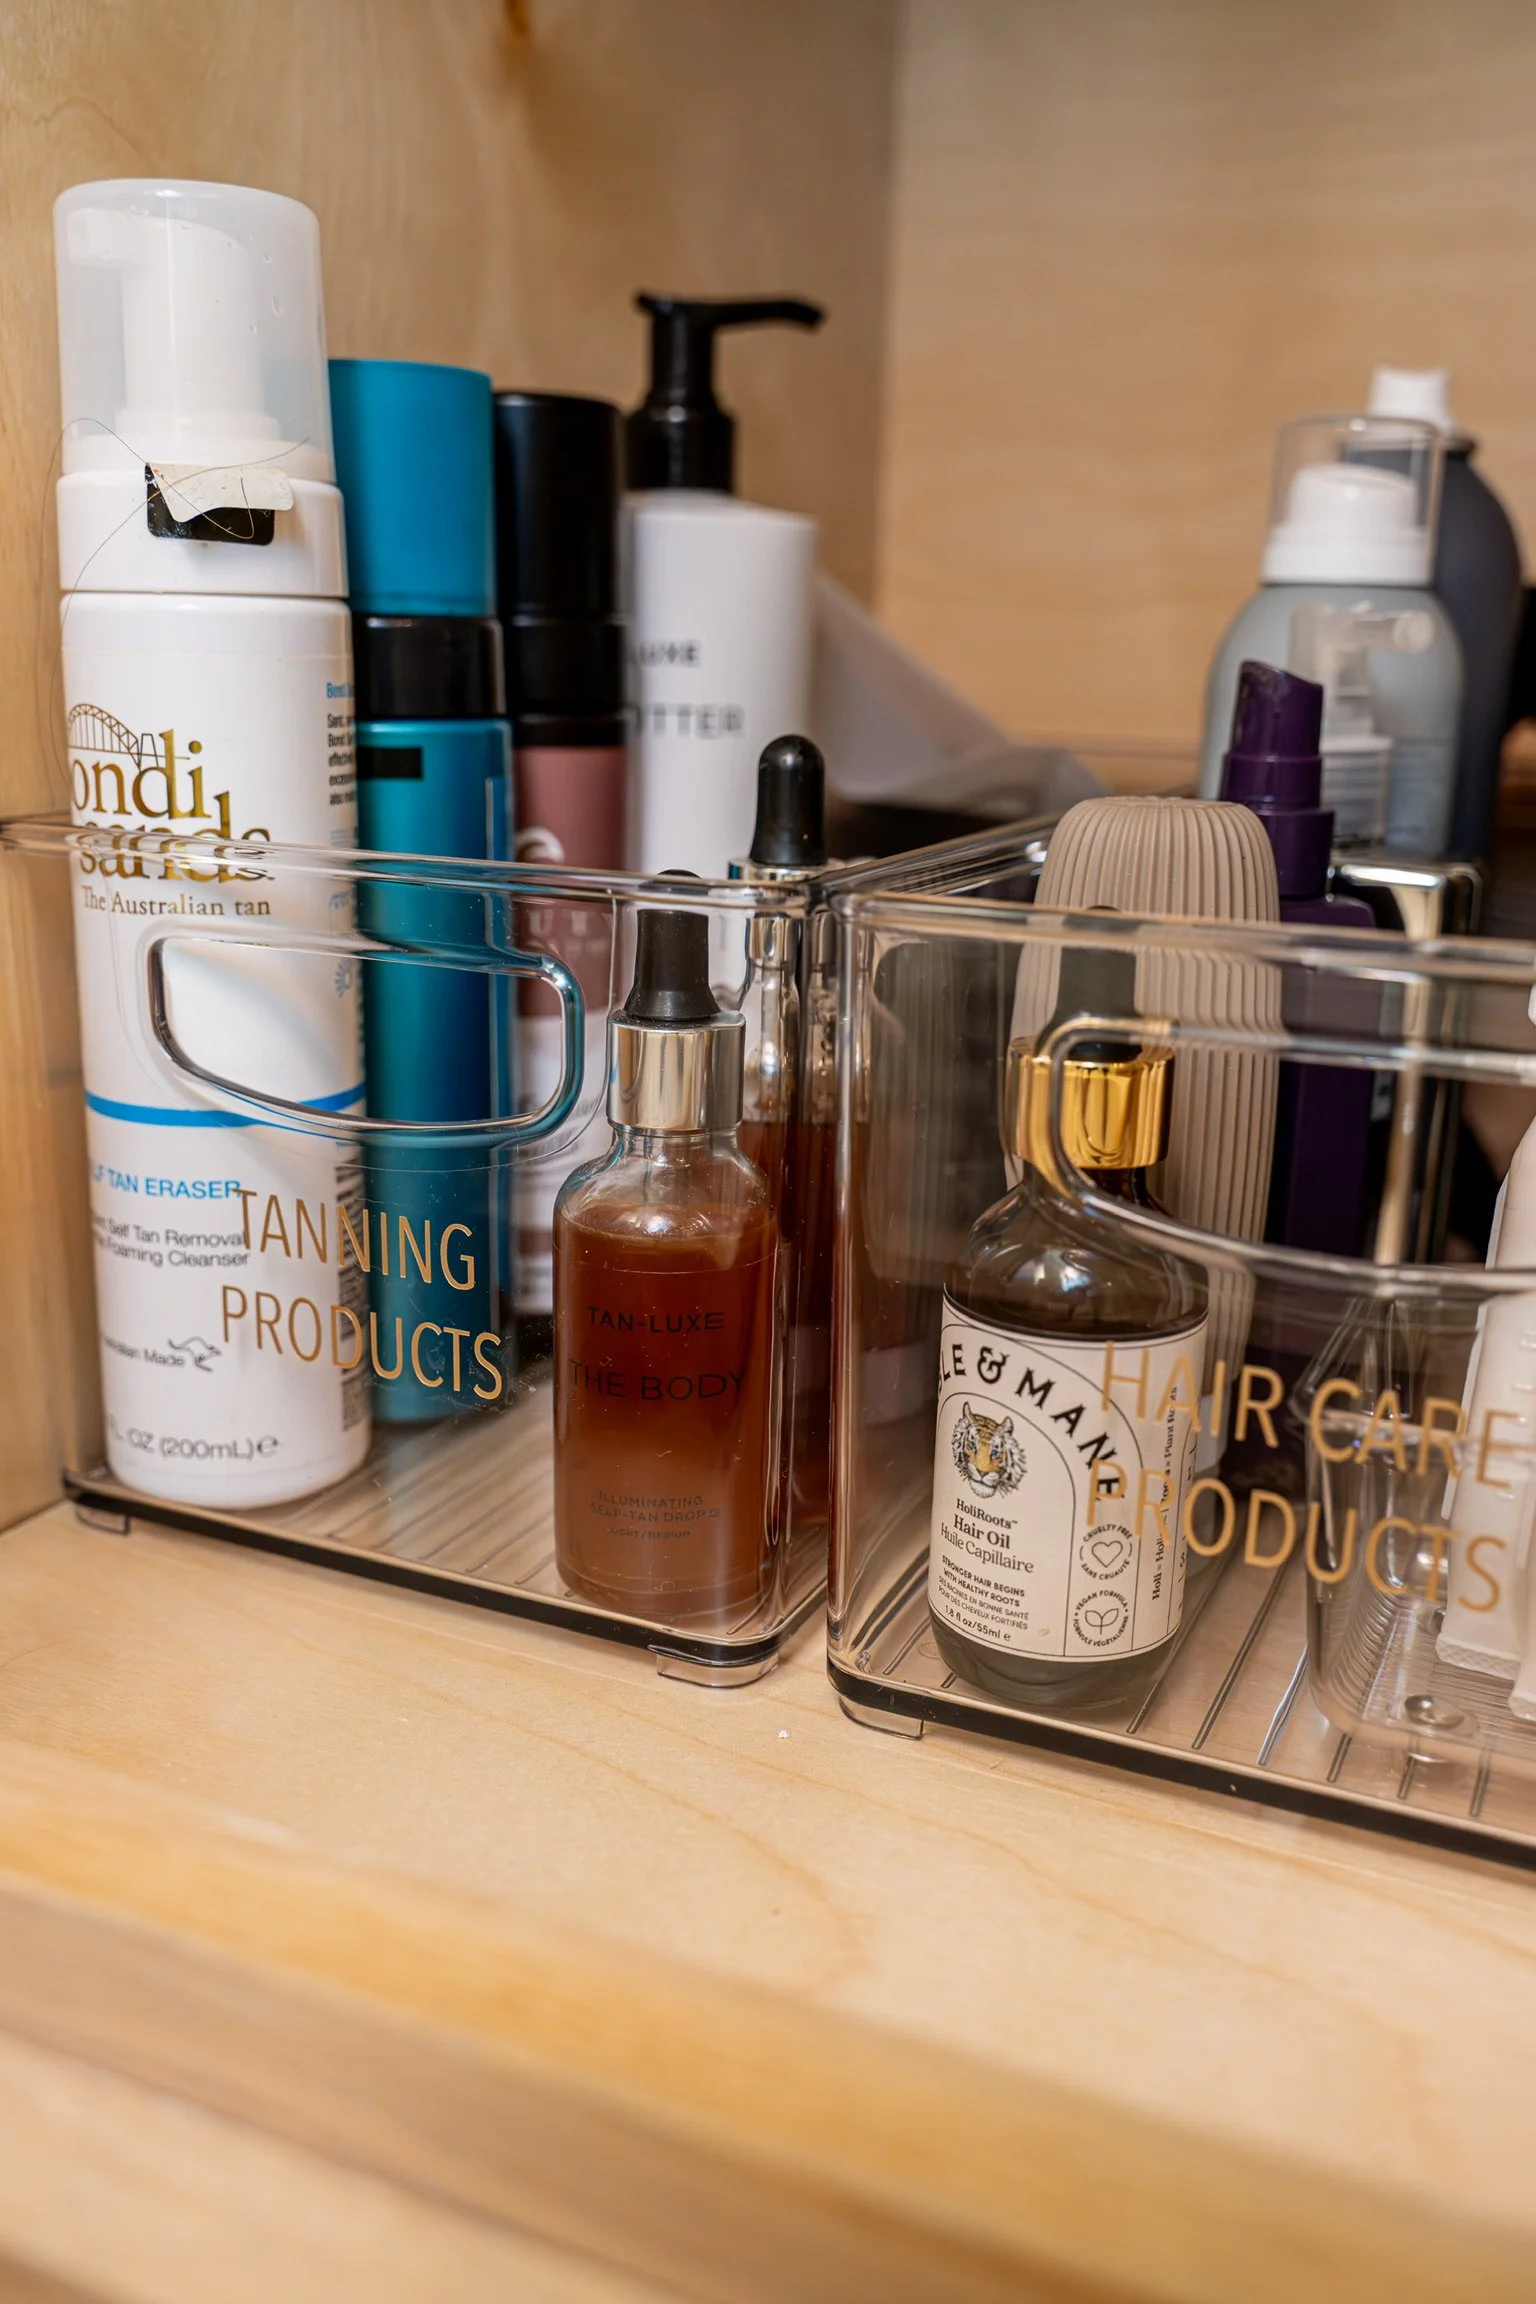
4. Create Meaningful Zones That Reflect Your Lifestyle
Treat the cabinet like a miniature version of a thoughtfully designed closet. Take a few moments to study the rhythm of your day—from the products you reach for first thing in the morning to the rituals that anchor your evening. Understanding these habits, along with your purchasing patterns, will reveal which categories deserve prime placement and if an overflow zone is needed as well.
Assign dedicated zones to guide your routines:
Daily care such as lotions, toothpaste, and face wash
Hair tools and accessories
Backstock items including soap, razors, or extra shampoo
Cleaning supplies stored safely and intentionally
Clear zones reduce decision fatigue and ensure every item supports ease.
Zone planning is where our virtual guidance truly shines—let us support you at this step if it starts to feel overwhelming.
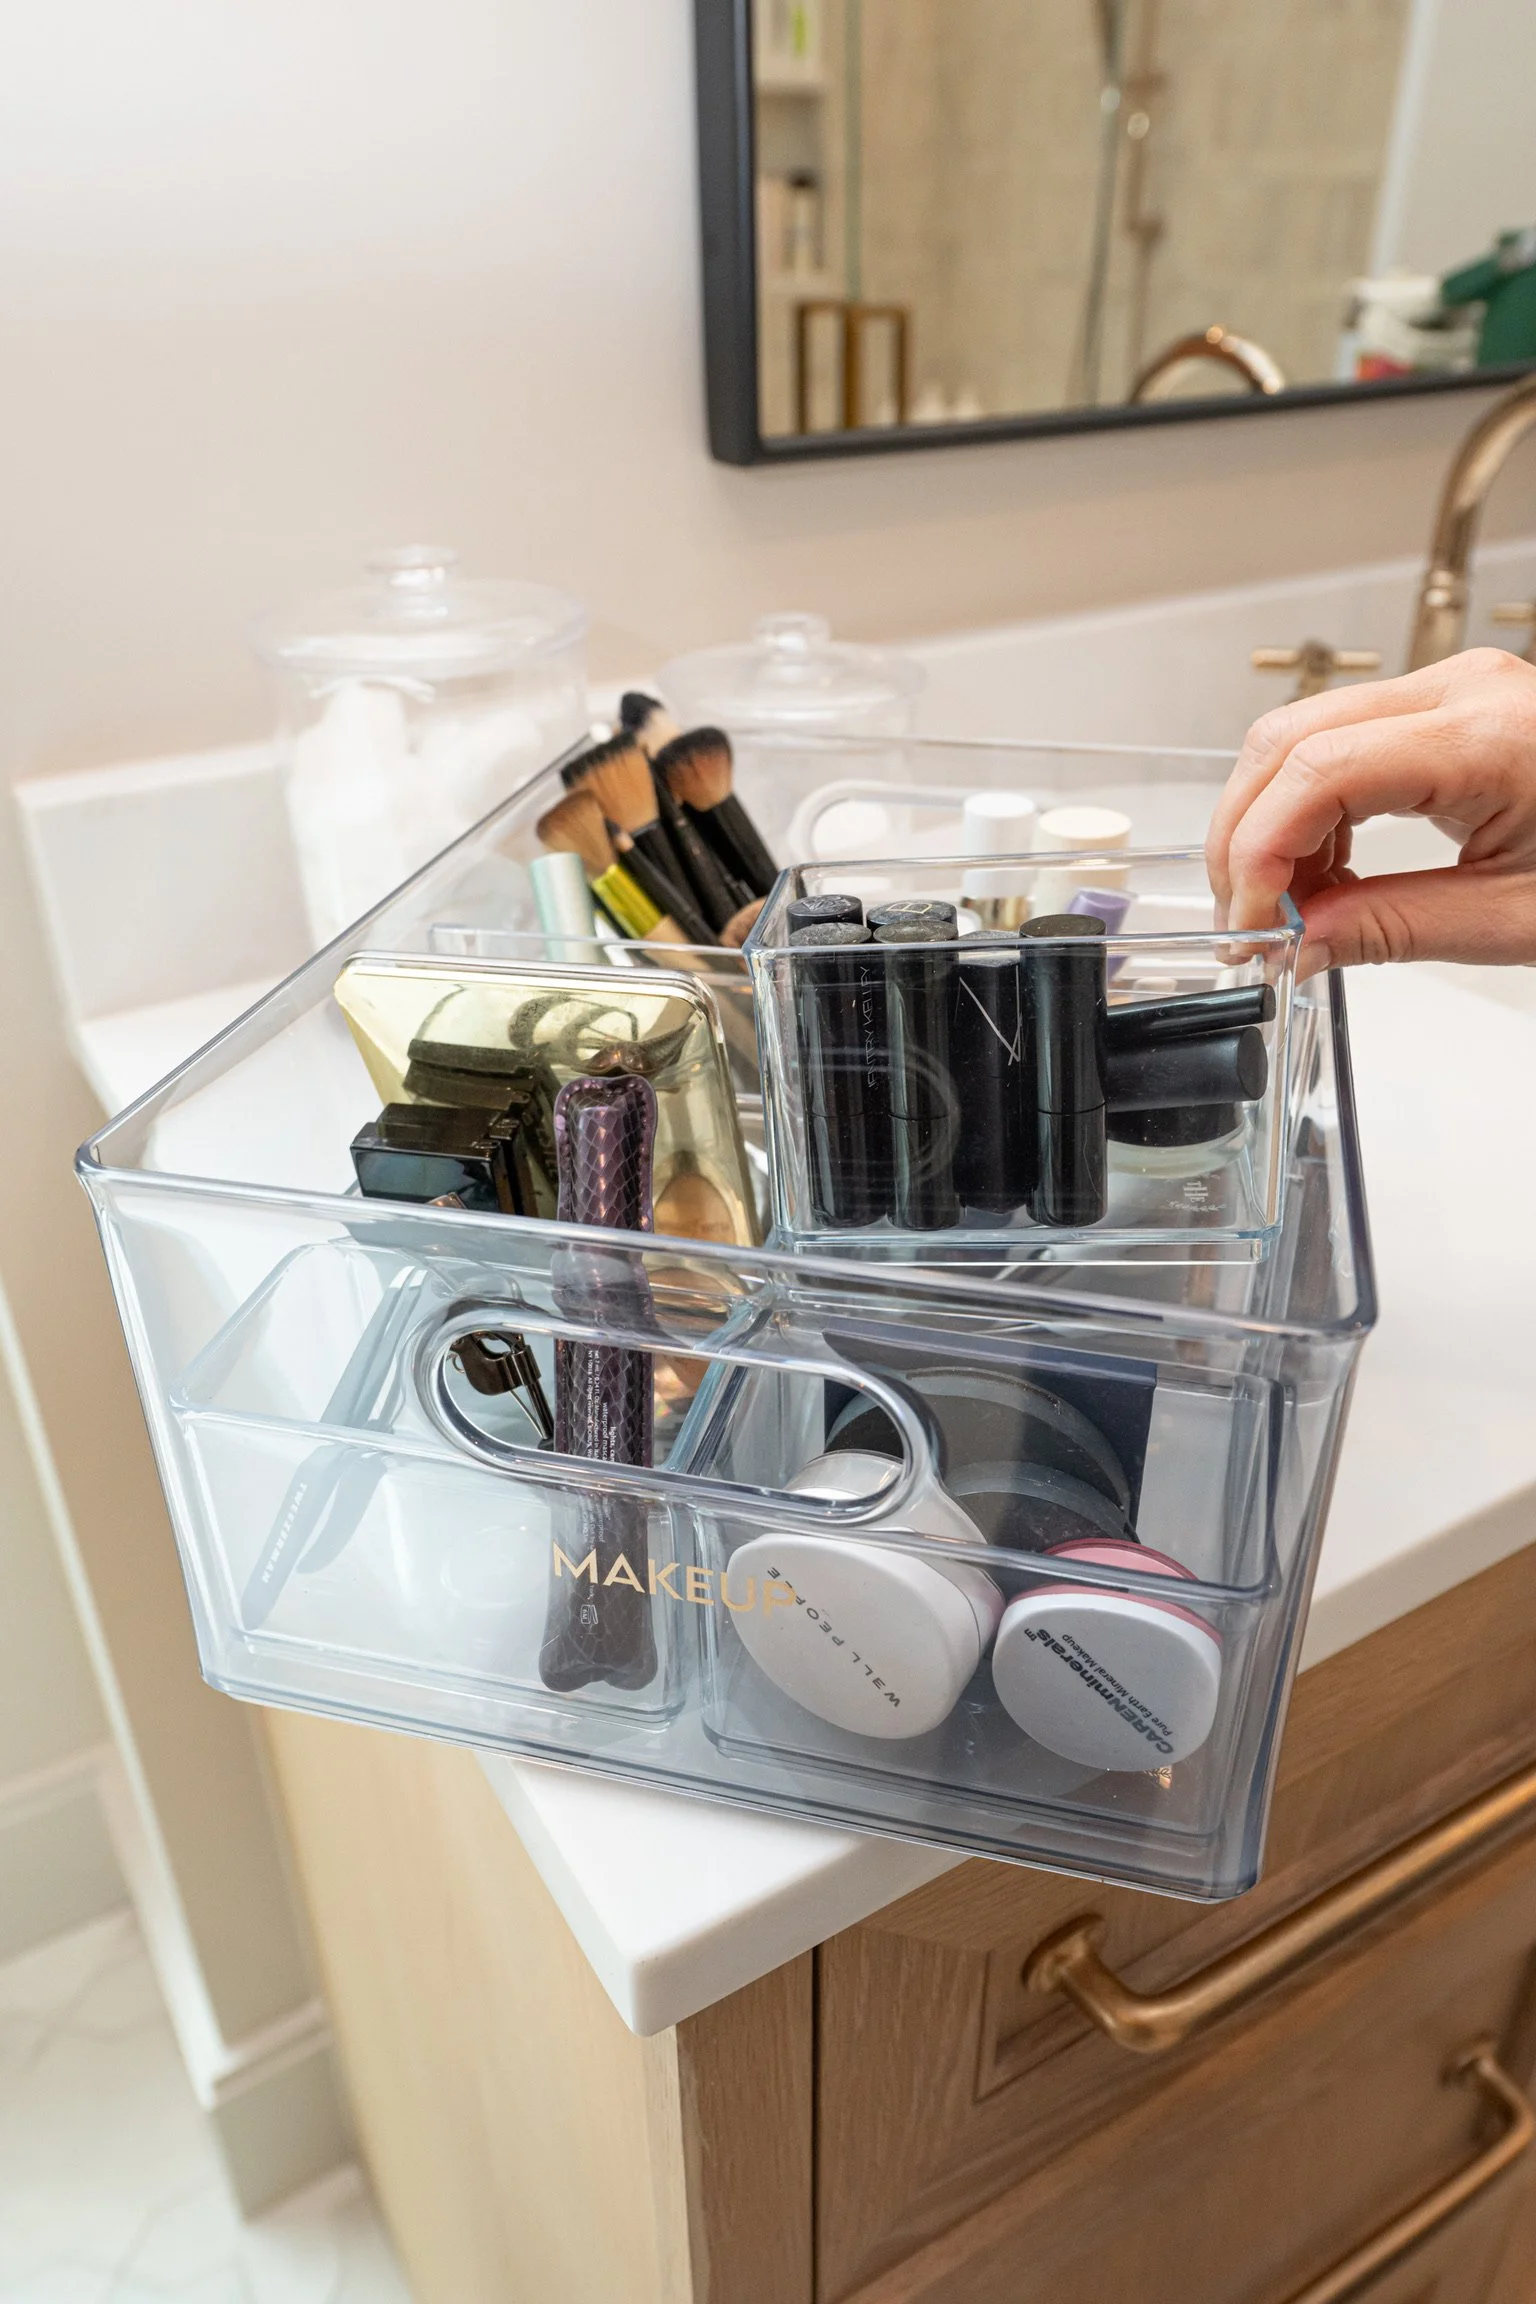
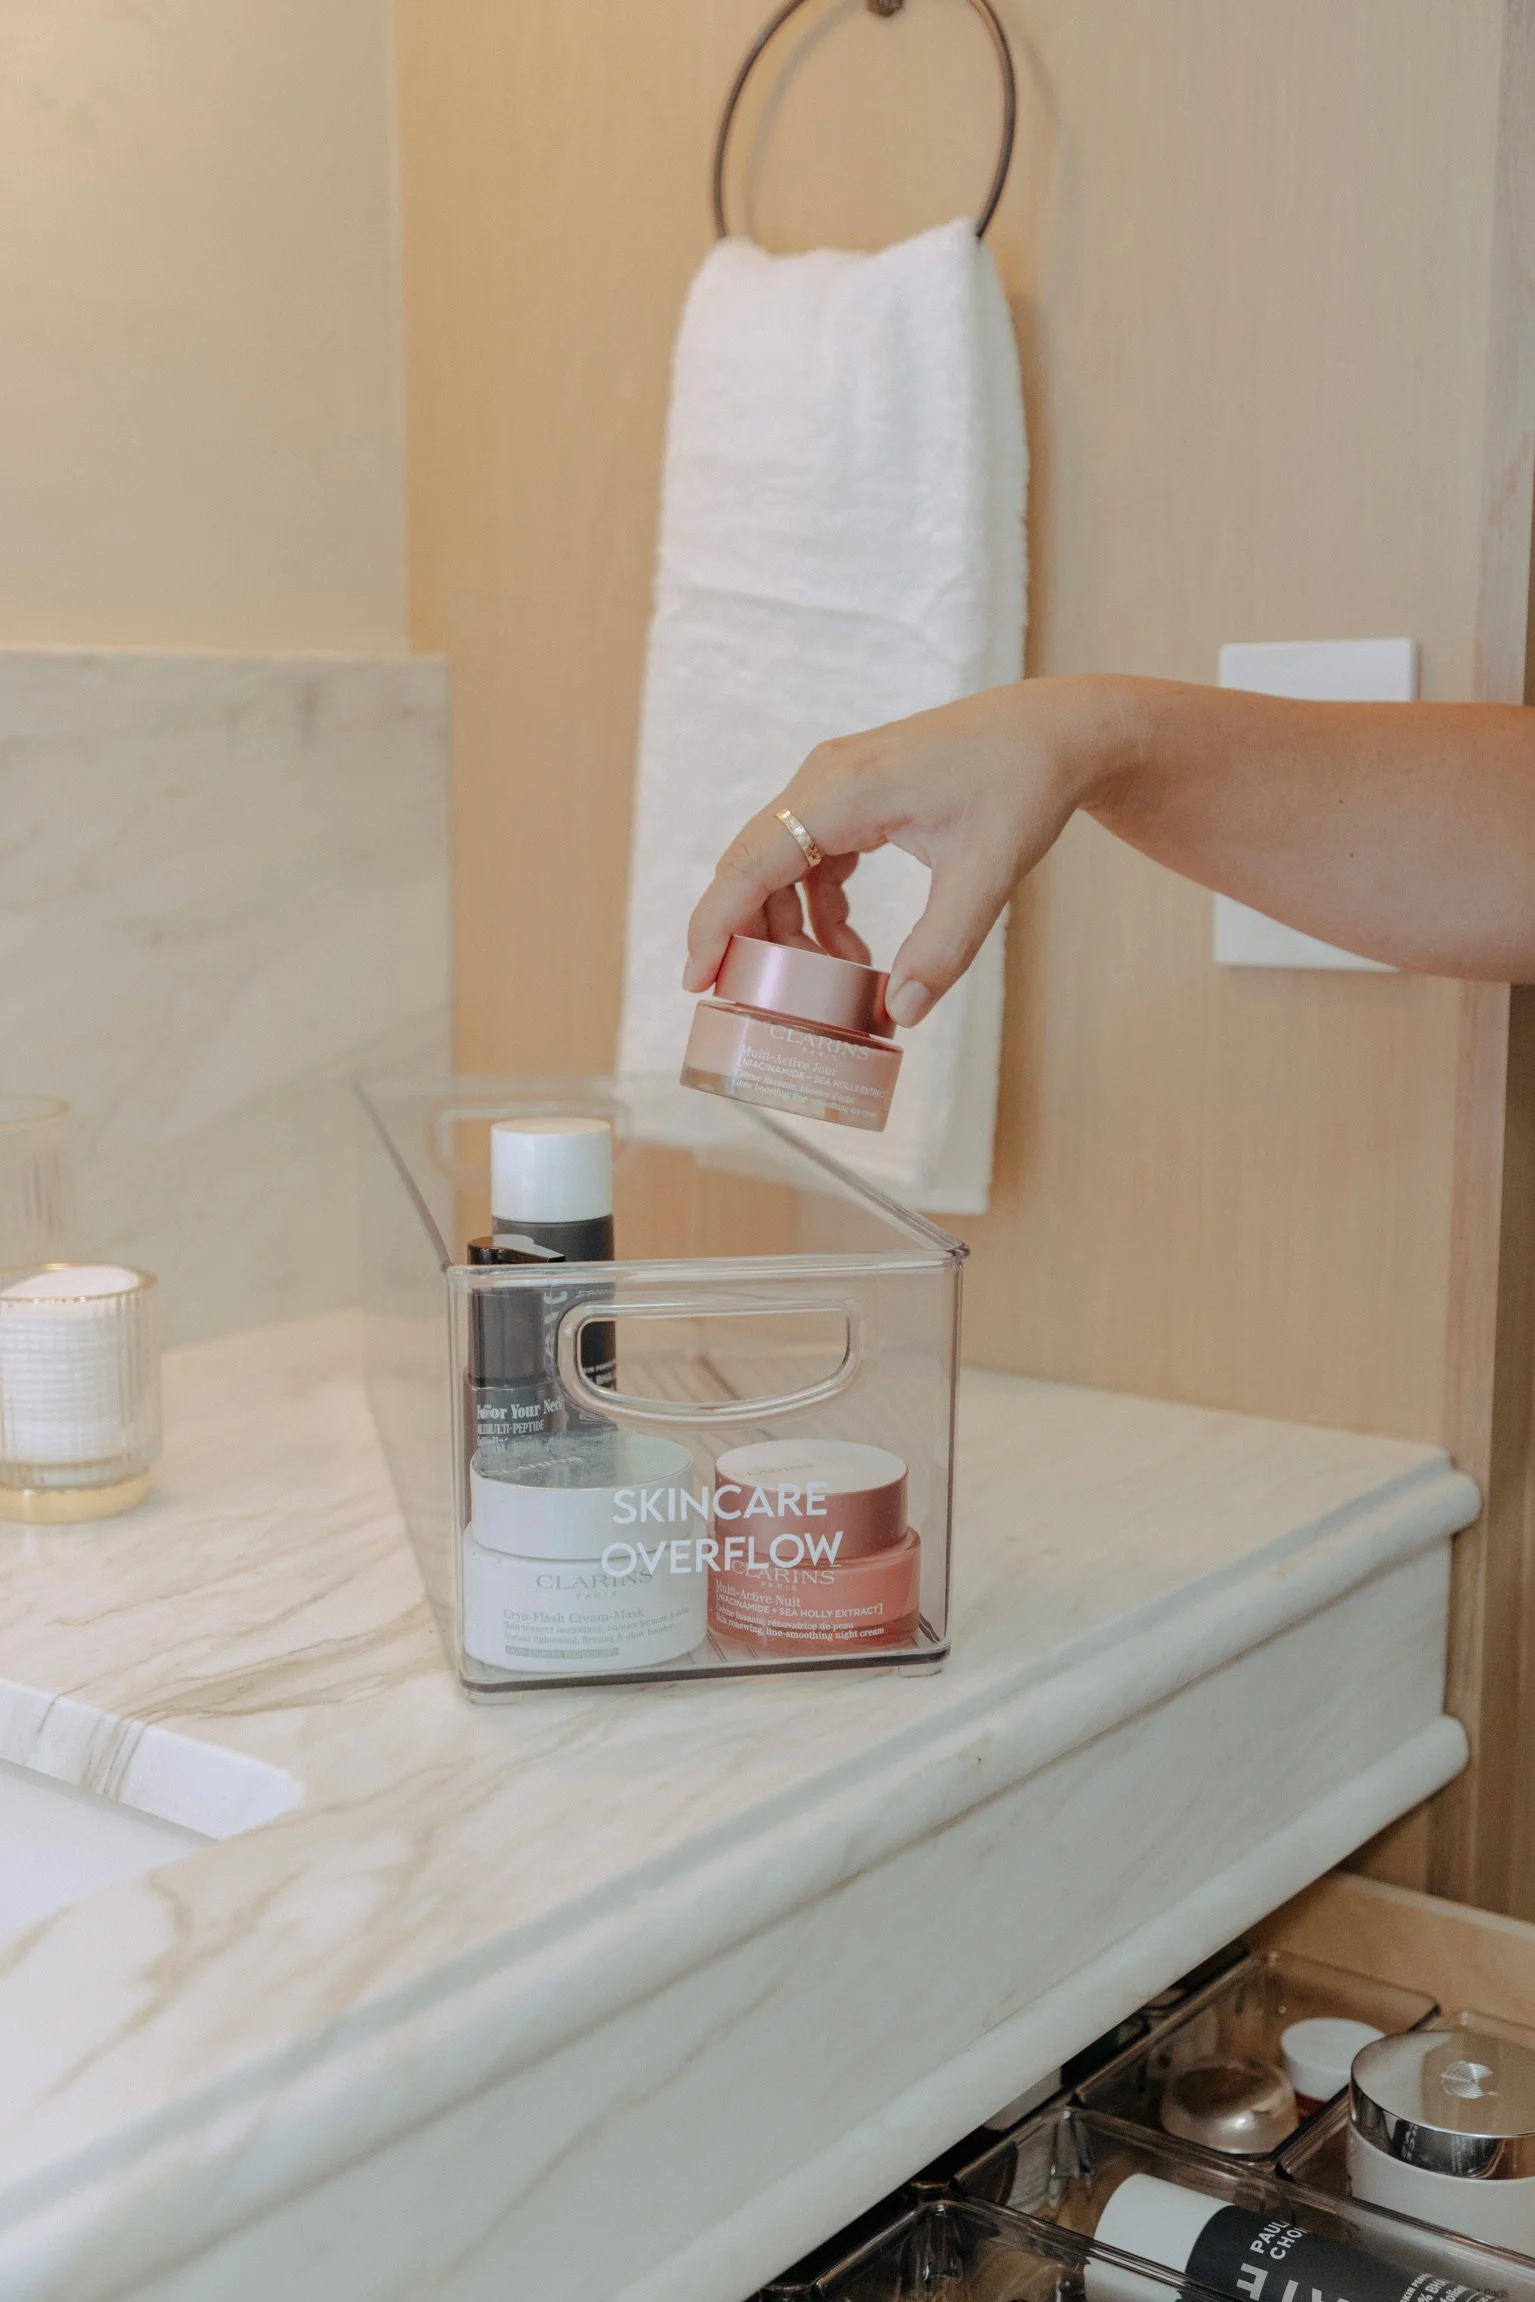
Zone Planning in Action: A Thoughtfully Designed Makeup Zone
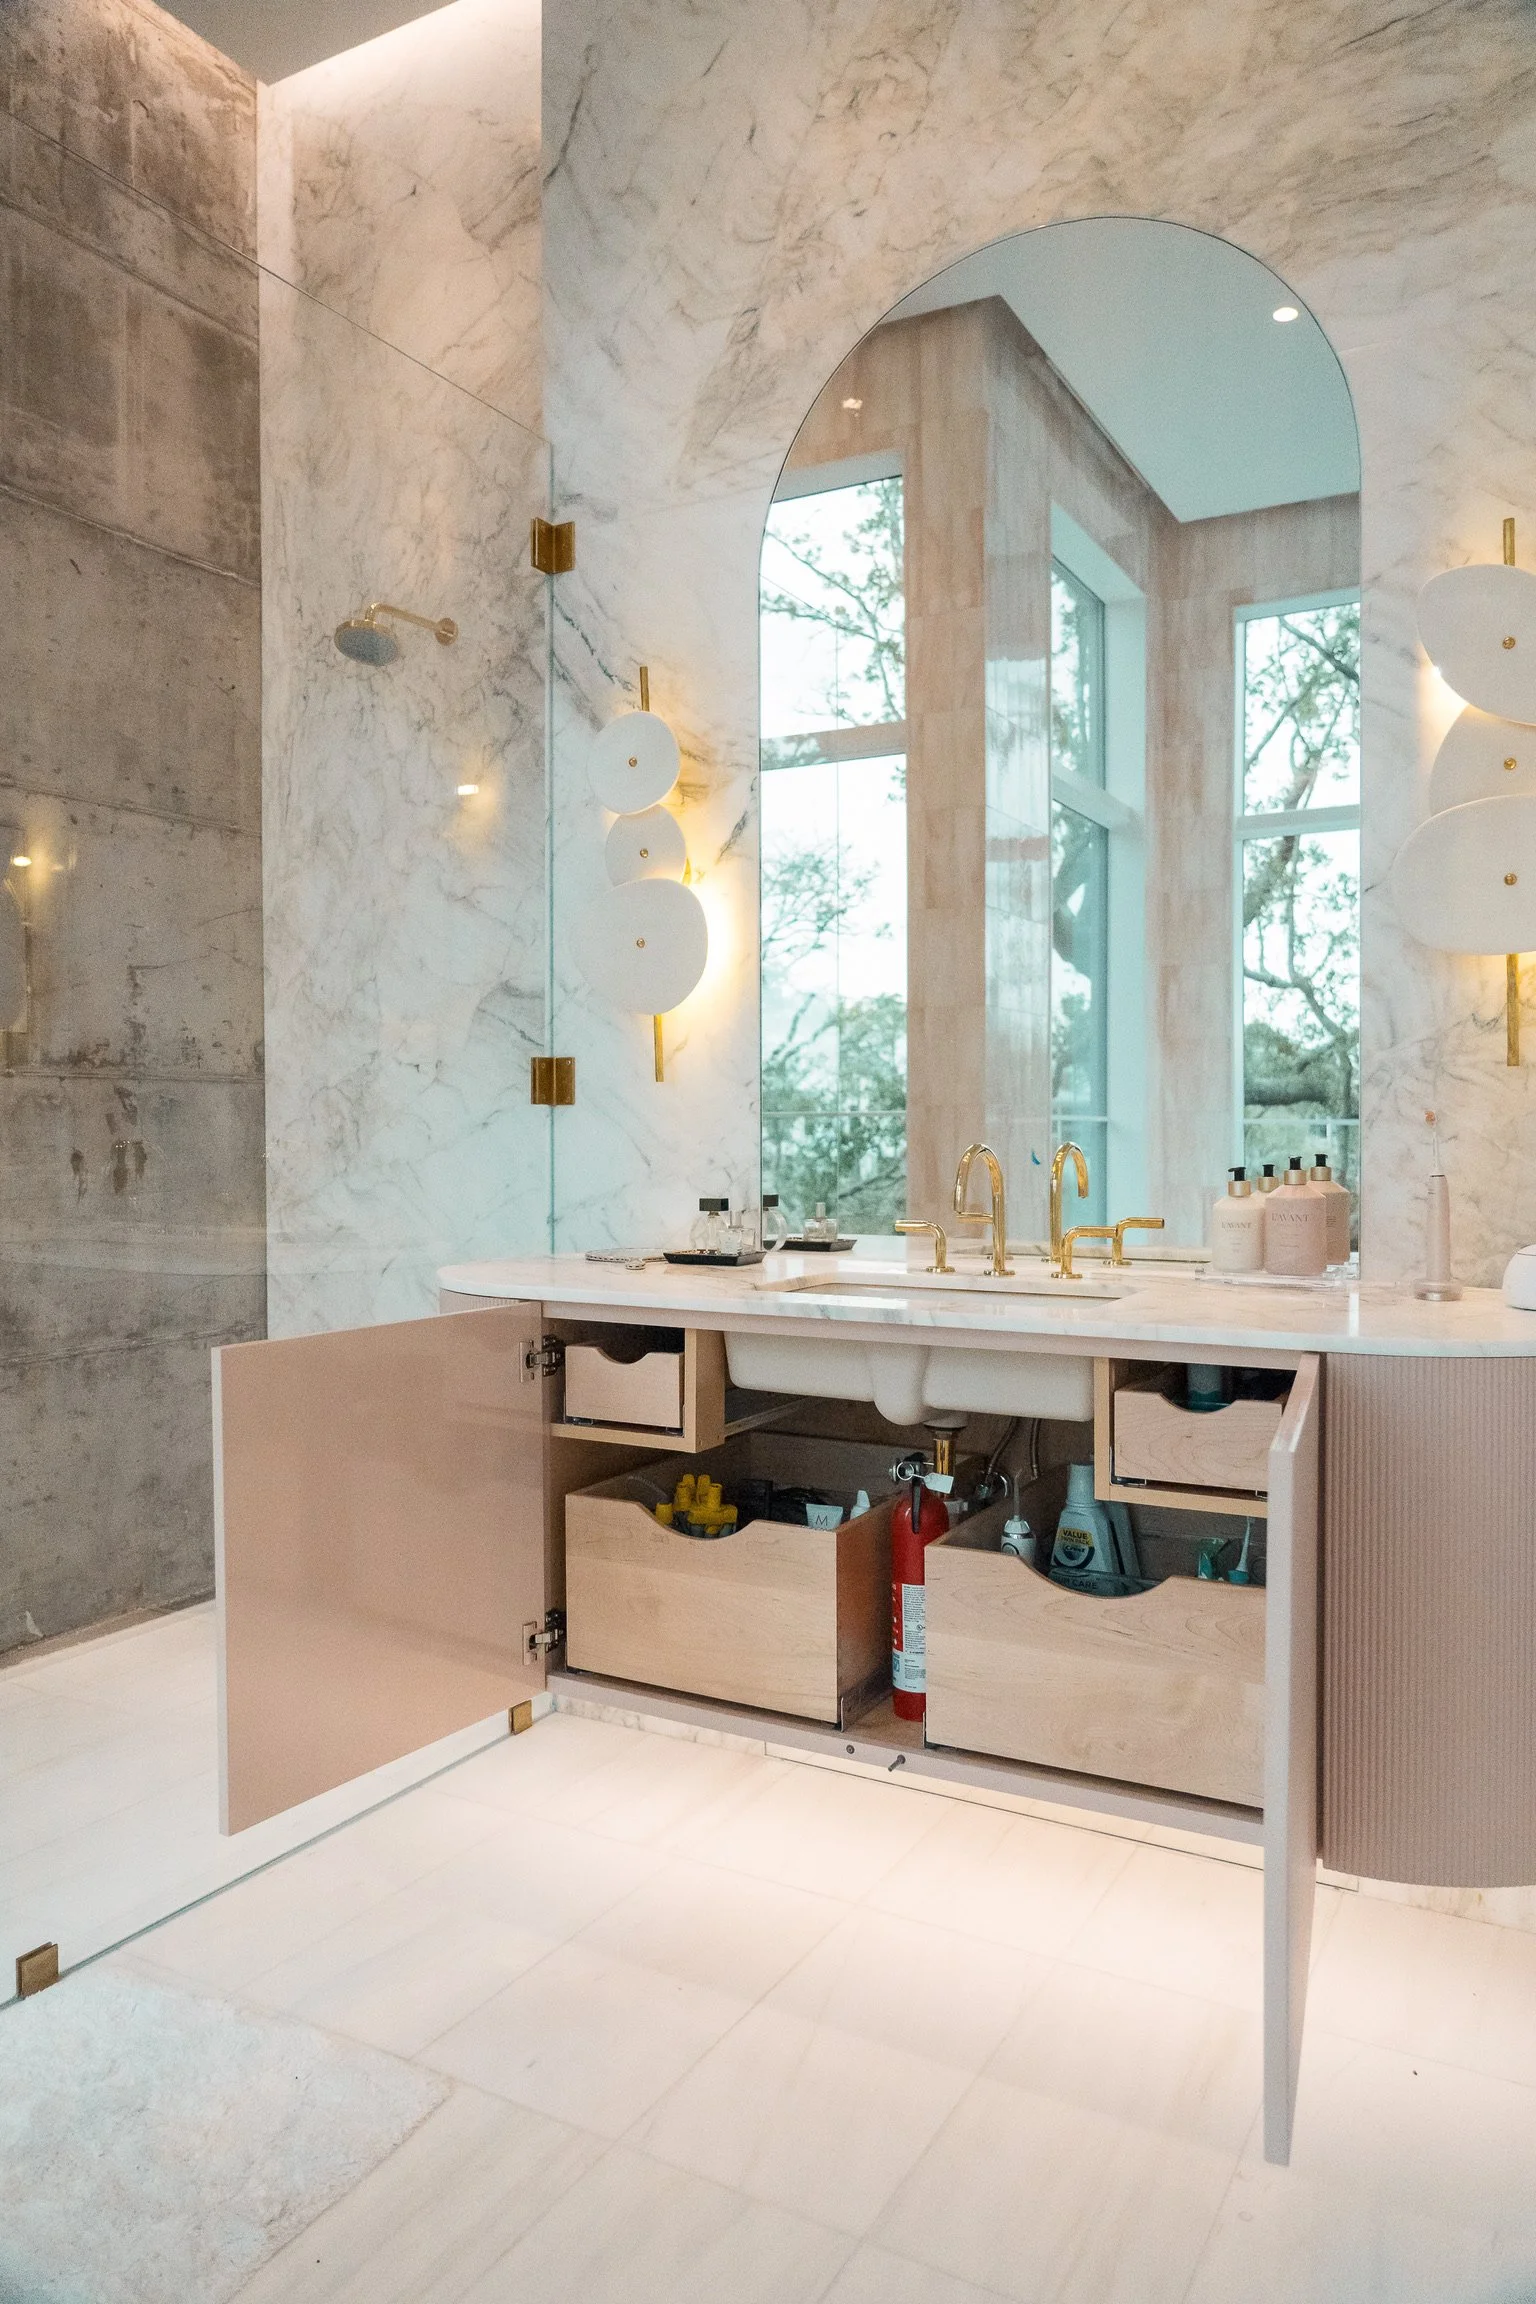
In our Austin Modern project, prime real estate inside the primary bathroom was intentionally reserved for what our client uses most: daily skincare, sunscreen, dental essentials, and beauty tools. These categories deserved immediate access and drawer space closest to her routine.
Makeup, however, wasn’t part of her everyday rhythm.
Rather than giving it valuable upper-cabinet space, we created a dedicated makeup zone beneath the sink using a structured bin with inserts. This allowed us to micro-categorize her essentials while keeping everything contained in one streamlined system.
Now, when she needs it, she simply pulls the entire bin from under the sink, brings it to the countertop, gets ready, and returns it to its designated home. No digging. No scattered products. No wasted motion.
This is zone planning at work — identifying frequency of use, eliminating unnecessary steps, and assigning space accordingly. By grouping like items and placing them where they make the most sense, we maximized under-sink storage while protecting her prime drawer space for what truly supports her daily routine.
5. Contain and Label for Long-Term Success
Once your zones are defined, place items into their containers, adjust drawers or shelves as needed, and complete the system with specific labels. Labels encourage consistency, support your household in returning items to their proper homes, and keep the space beautiful long after the project is complete.
Want clarity before you purchase?
If you’re ready to organize your bathroom cabinet space with true intention, a Curated Product Plan from Graceful Spaces is the perfect next step. We’ll hand-select the exact organizing products that you need to ensure a simple process and a serene vanity.